Step 4 - Deploying locally and using Candid UI
In this article we will learn how to deploy our app locally and play with it using Candid UI.
Starting local Internet Computer server
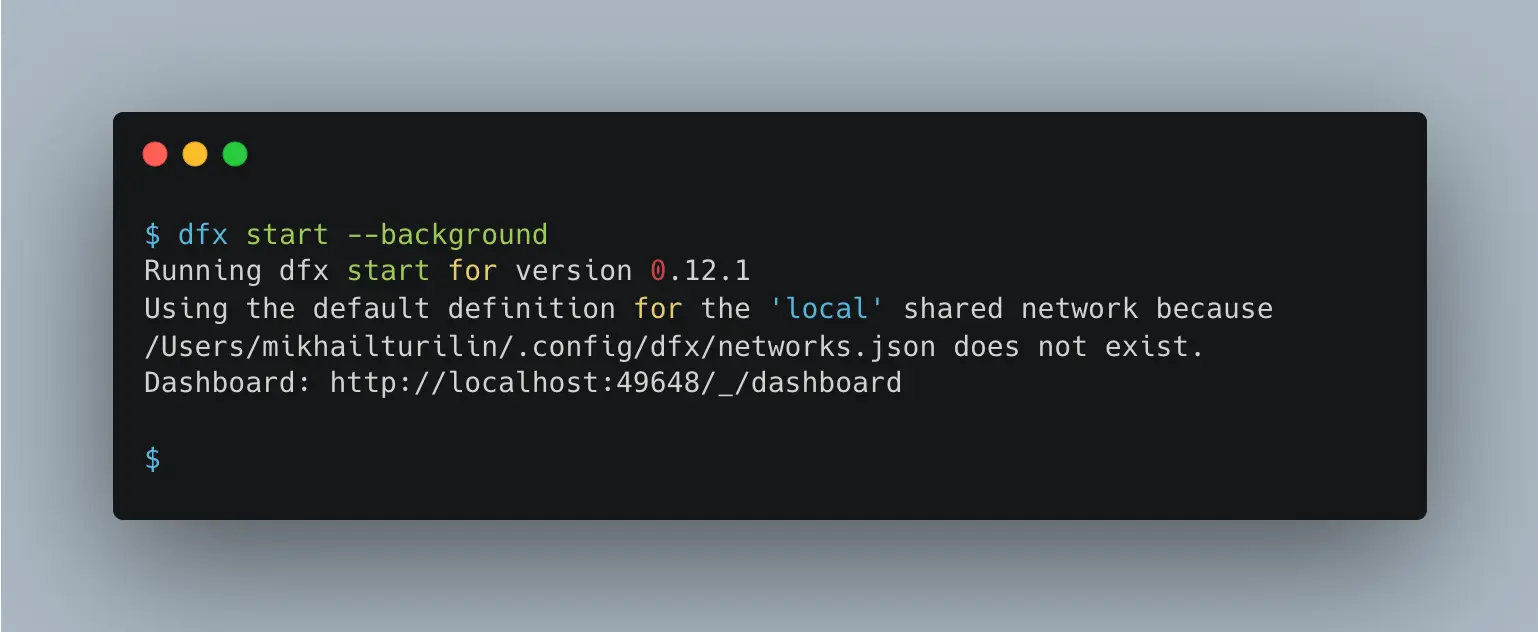
Before you can deploy your app, you need to start a local Internet Computer server to host the app code. To do so, open the terminal and type this command:
dfx start --background
You will a result in the console similar to this:

Deploying your app
To deploy your app you need to:
- Change your current directory to the project root
- Type
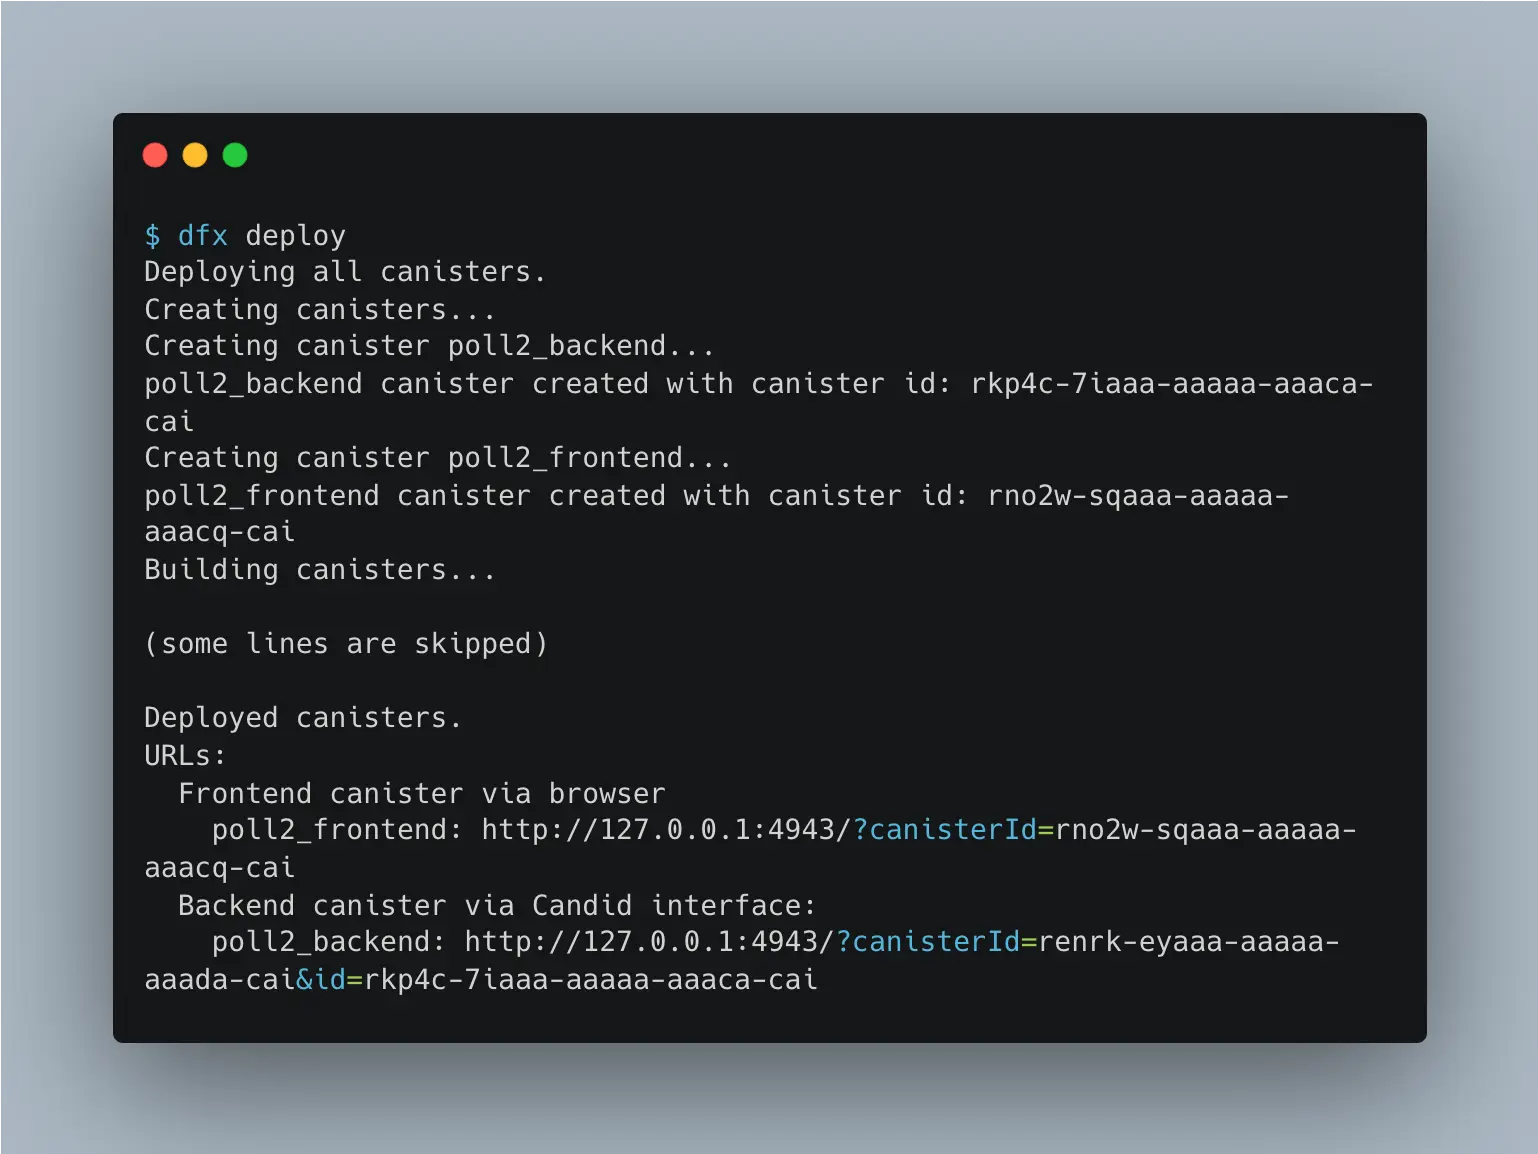
dfx deployin the command line
Example output in the console:

Opening Candid UI
When you deployed your canister, the system displays two lines similar to this:
URLs:
  Frontend canister via browser
    poll2_frontend: http://127.0.0.1:4943/?canisterId=rno2w-sqaaa-aaaaa-aaacq-cai
  Backend canister via Candid interface:
    poll2_backend: http://127.0.0.1:4943/?canisterId=renrk-eyaaa-aaaaa-aaada-cai&id=rkp4c-7iaaa-aaaaa-aaaca-cai
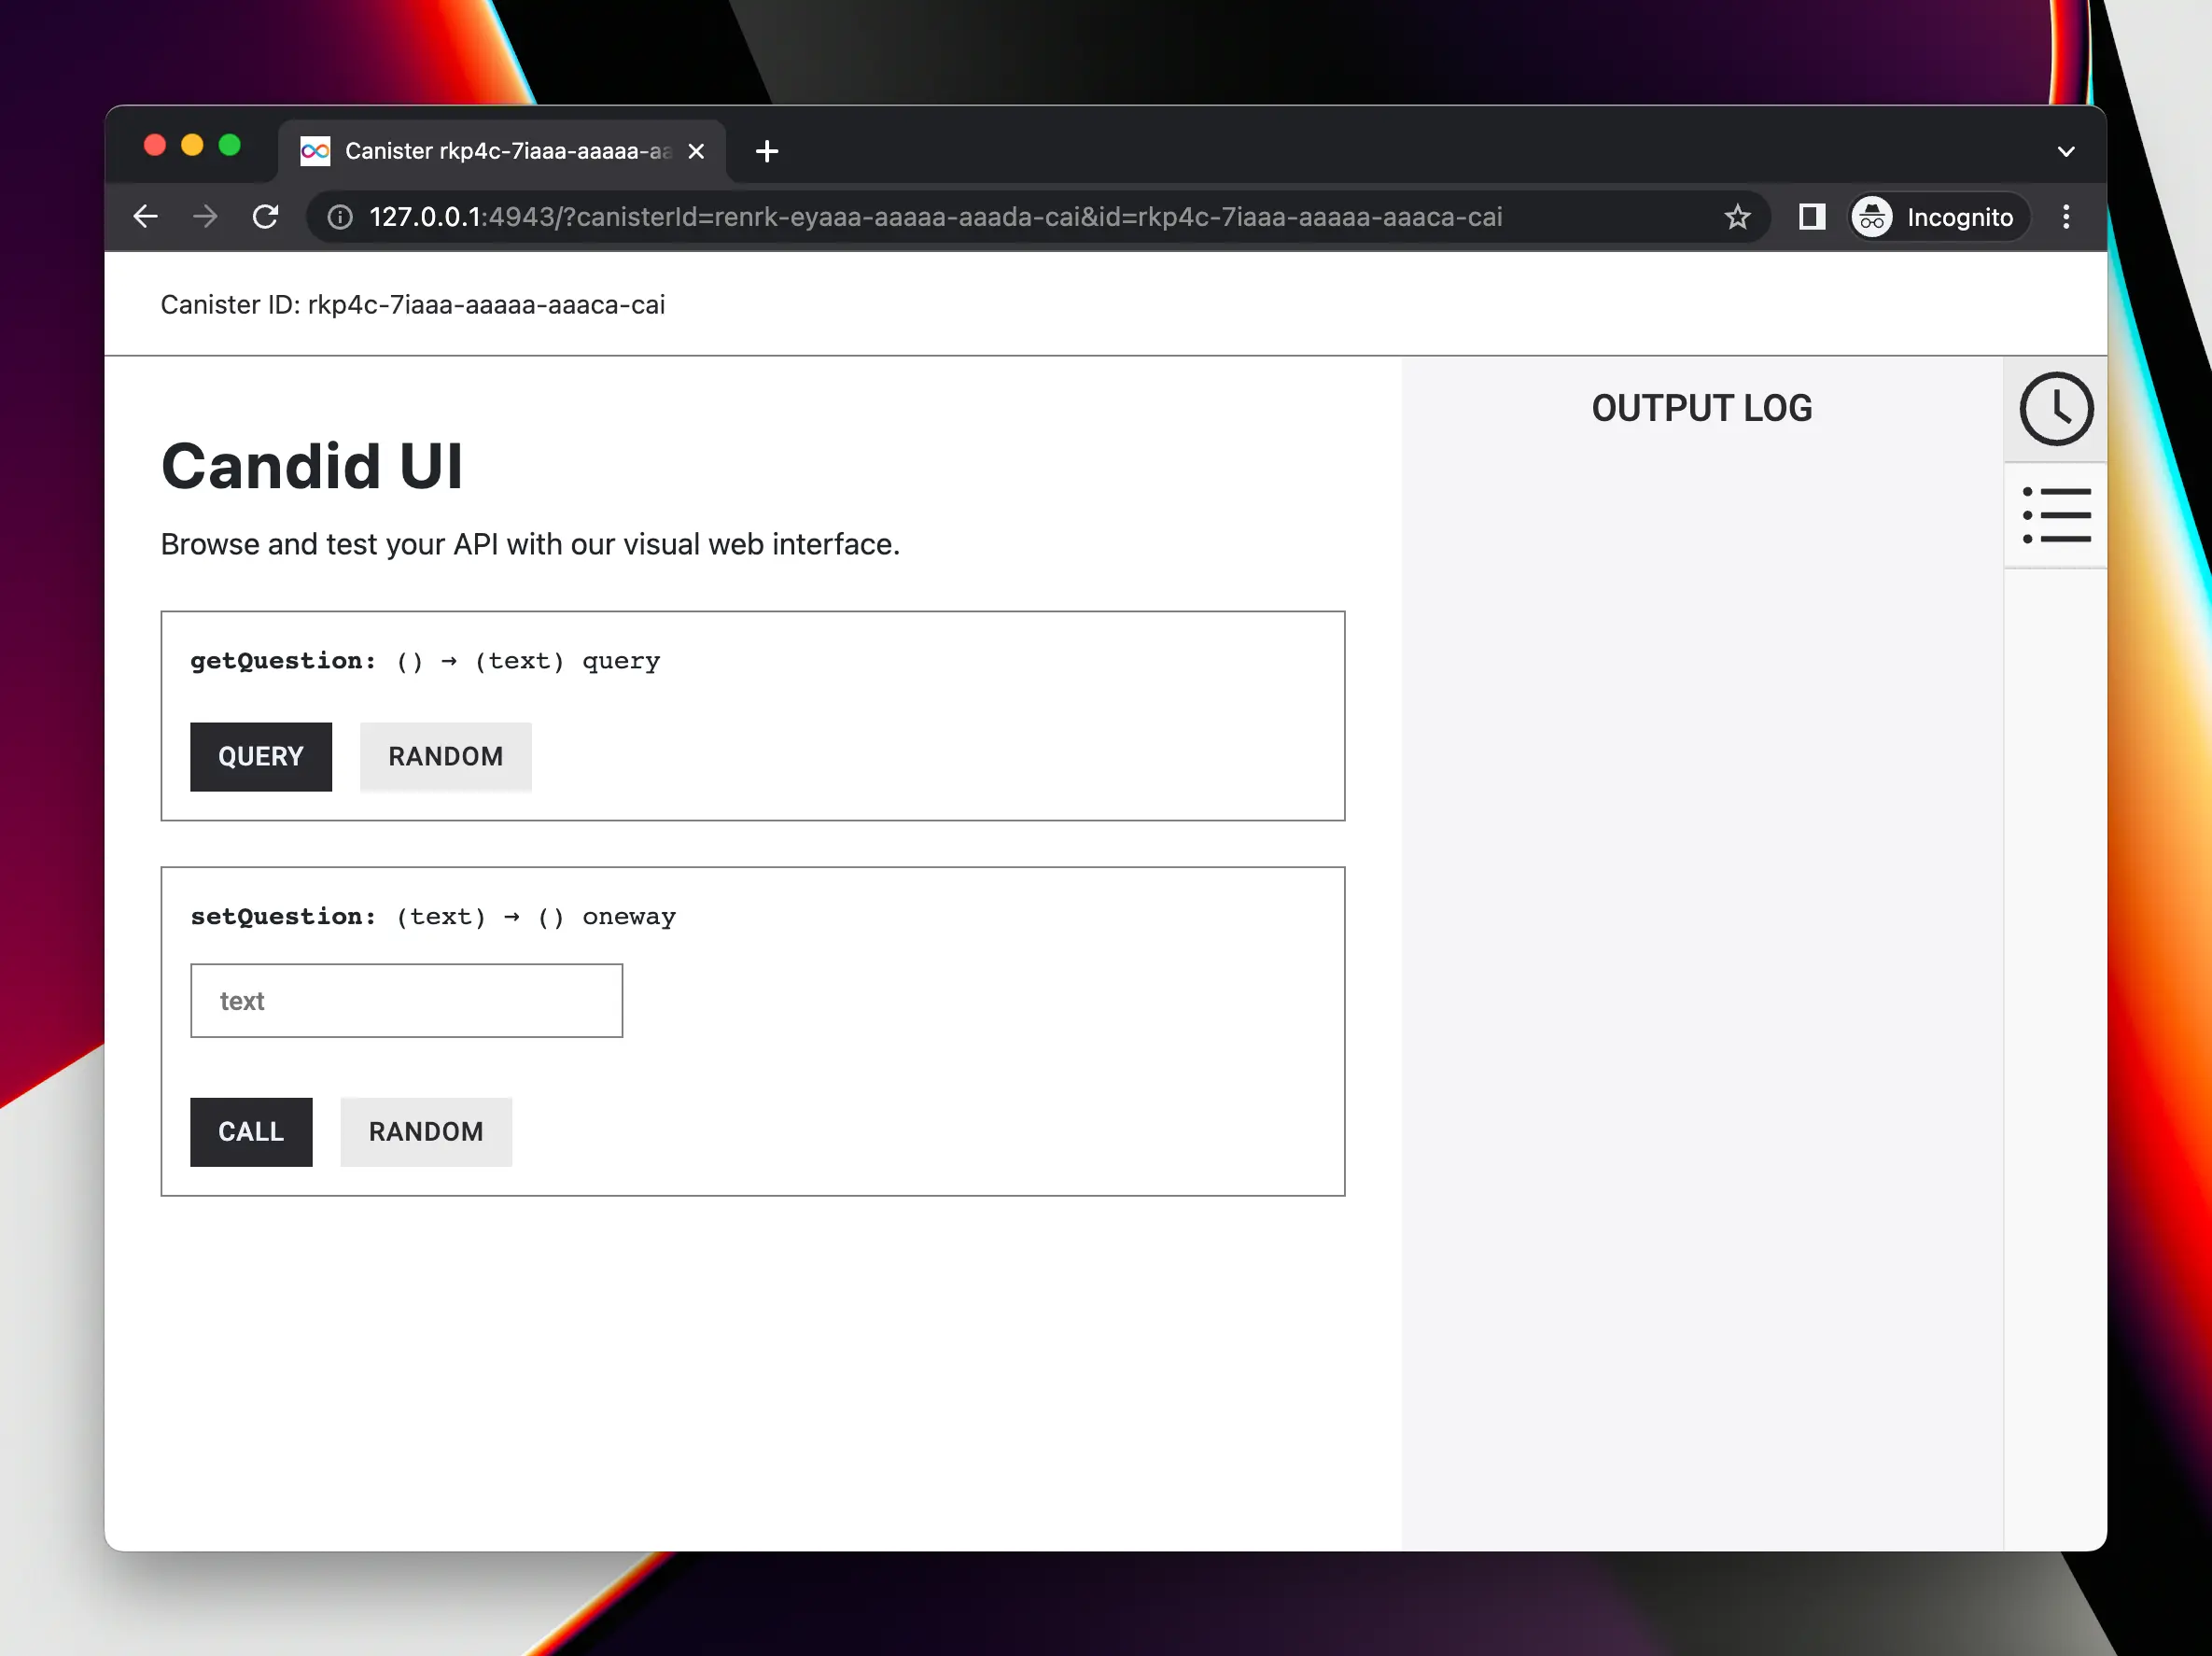
You will need the second URL (for poll2_backend) to access candid UI. Open this URL to your web browser to open the
Candid UI web page. You should we something like this:

Using Candid UI to access the data
As you can see, Candid UI allows you to access the methods of the actor that we coded at the previosus step.
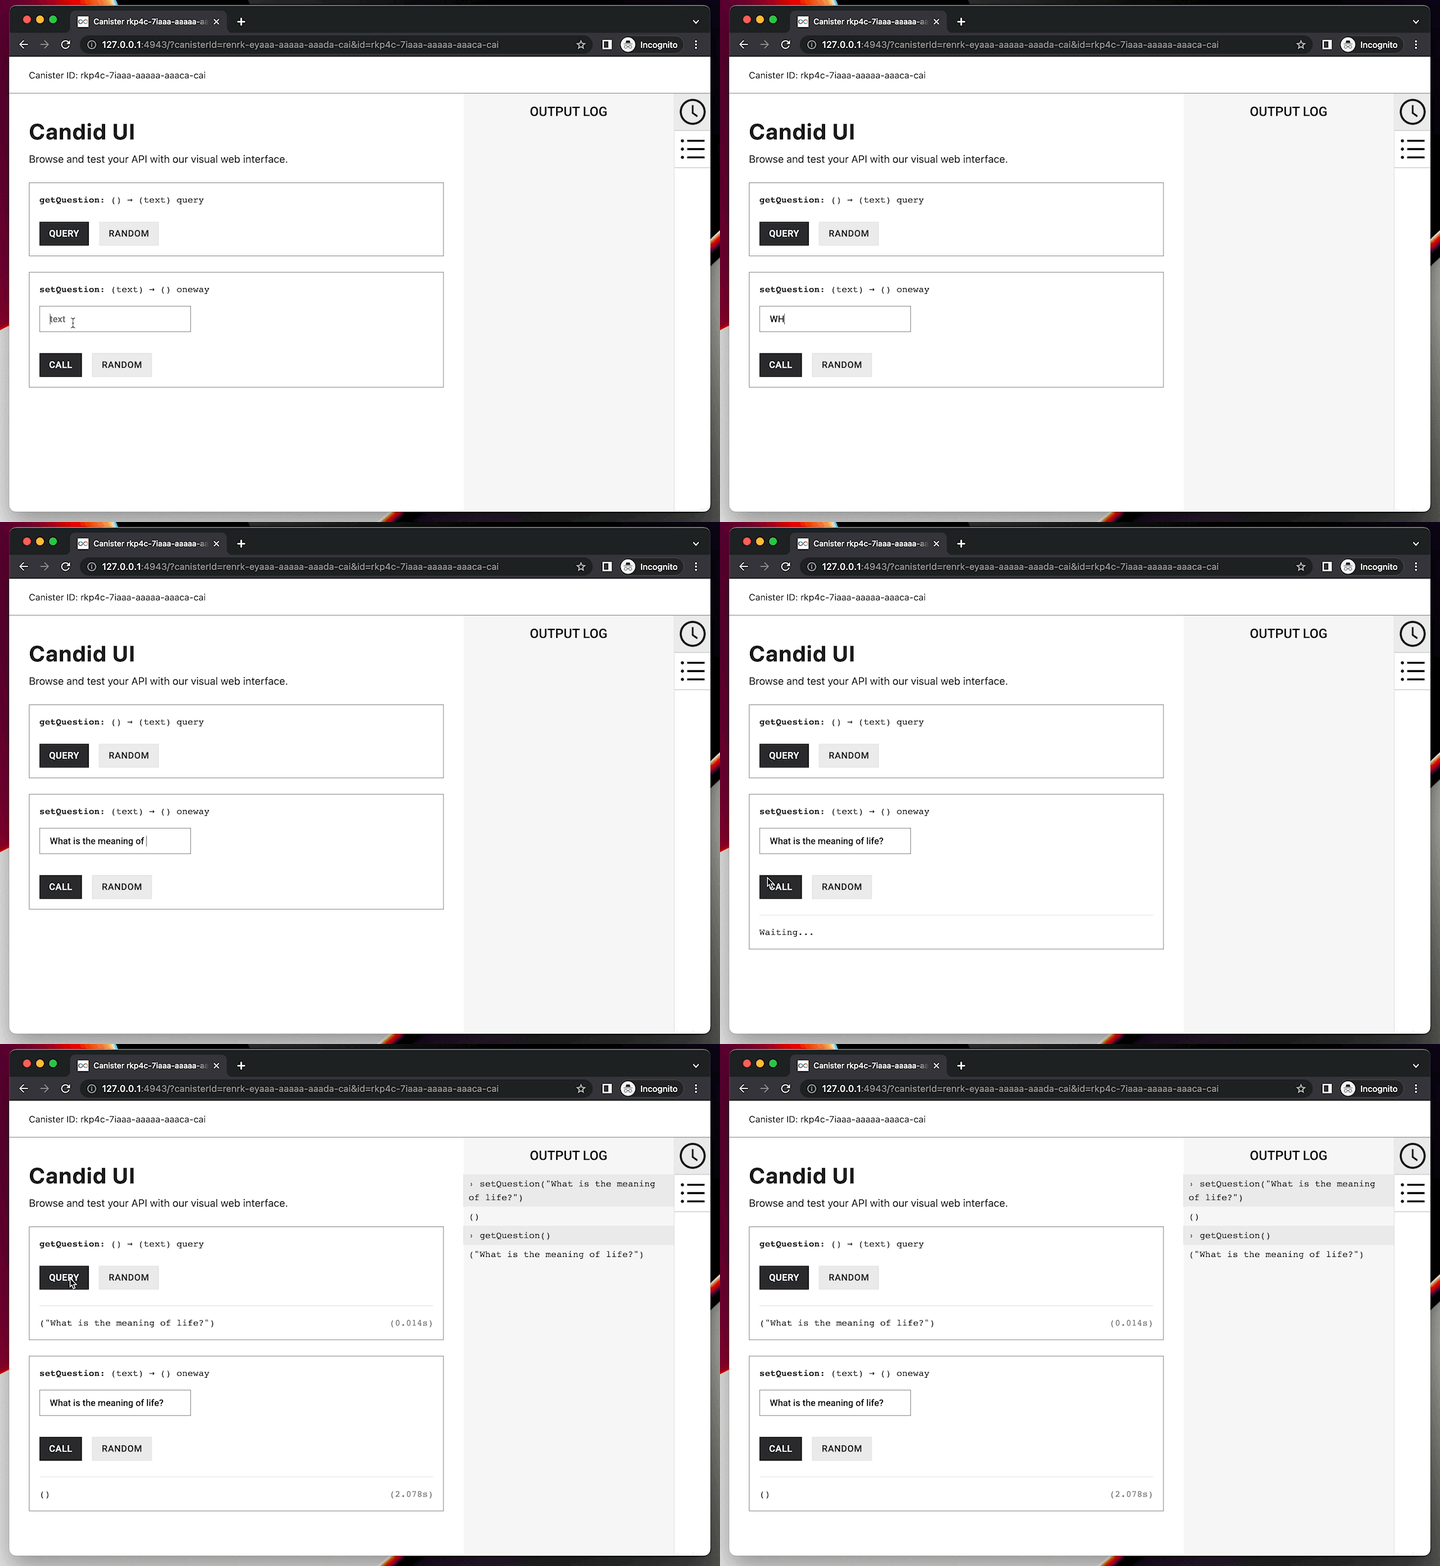
You can play with your implementation by calling methods and see that the question is stored and retrieved correctly:

Summary
During this step we learned:
- How to start the local Internet Computer environment
- How to deploy canisters to the local environment
- How to use Candid UI to quickly test your code
In the next section we will make the app much more complex by adding voting options.